Beauty Blog
Filter by:
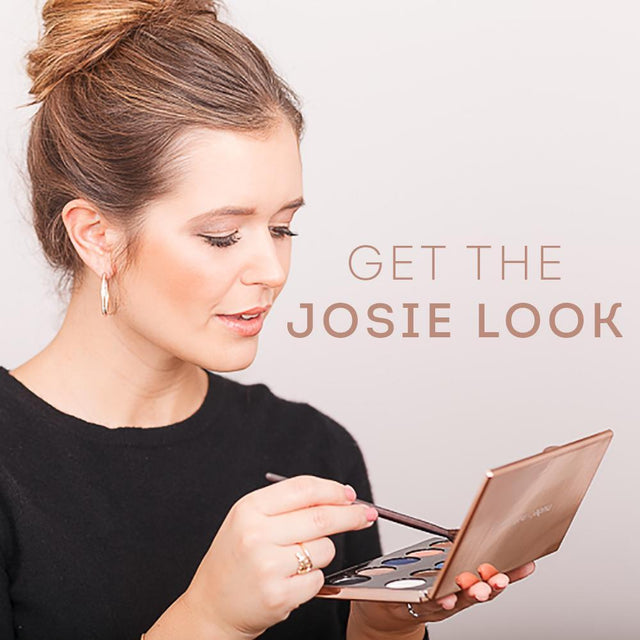
Blogger Review: Eye Collection
Blogger ReviewsBeauty blogger JosieLoves from Germany first heard about Nude by Nature over a year ago when discovering we were Australia’s number one mineral make-up brand. Since then, Nude by Nature...
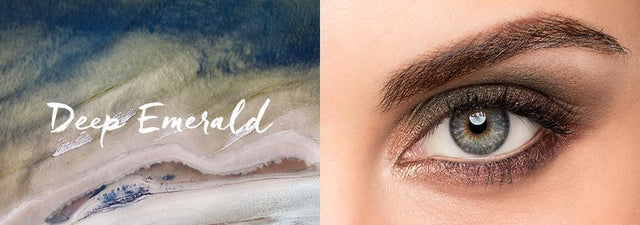
Deep Emerald Make-up Look
How To Guides, Looks & TrendsThe Deep Emerald look is a sultry twist on the classic smoky eye using deep green and red hues to mimic the sun setting through a rainforest. Deep Emerald Collection...
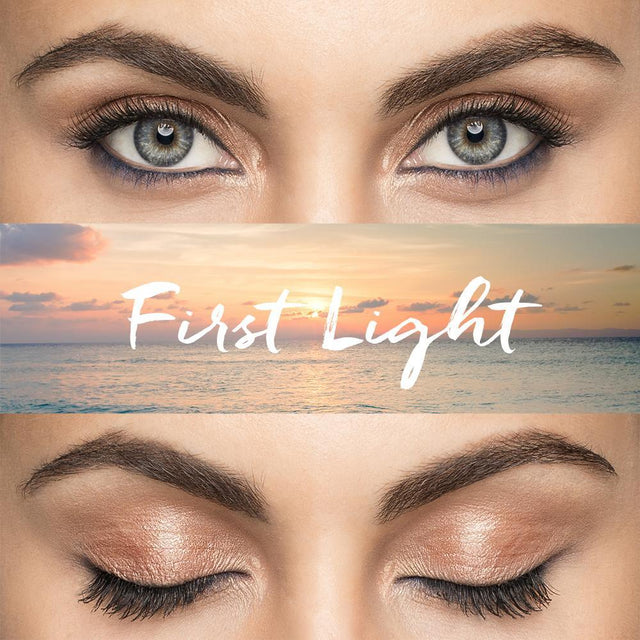
First Light Make-Up Look
How To Guides, Looks & TrendsThe First Light look captures the essence of the start to a beautiful Spring morning. Don’t be afraid to add a pop of colour to a classic nude look to...
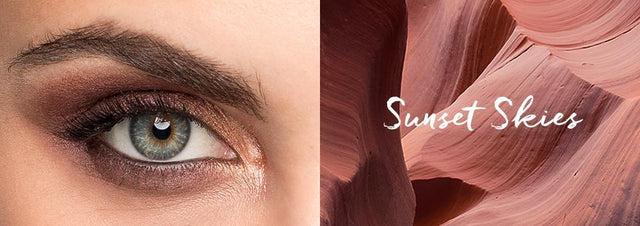
Sunset Skies Make-Up Look
How To Guides, Looks & TrendsThe Sunset Skies Look captures the rich, mesmerising colours of a soothing, glowing, Australian sky. The typical red-brown hues are particularly complimentary to green eyes Sunset Collection SHOP NOW Step...
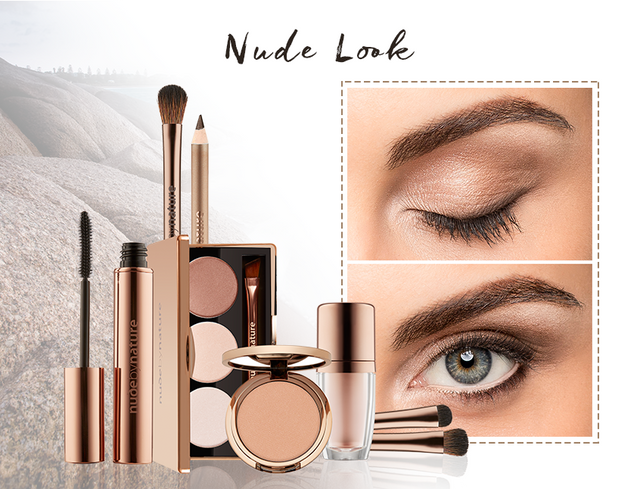
Natural Make-Up Look
How To Guides, Looks & TrendsThe key to a Natural Look for Race Day is all in neutral tones and touches of Shimmering Lights. Let us take you through the steps on how you an...