Beauty Blog
Filter by:
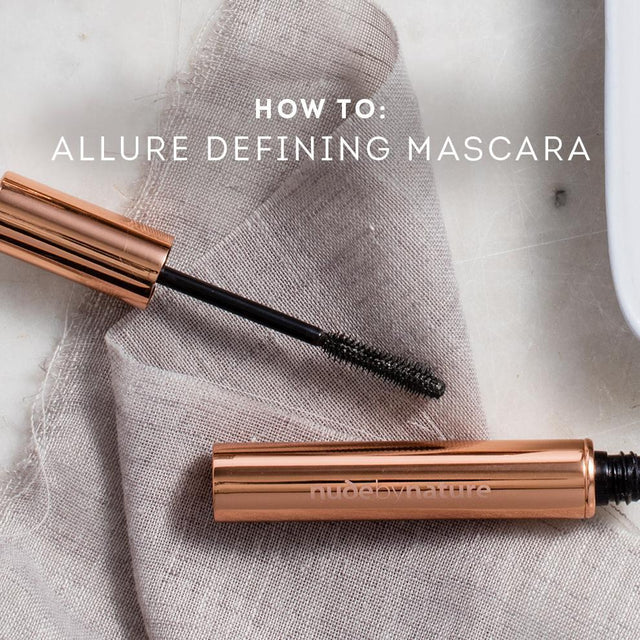
HOW TO: Apply Mascara
How To GuidesMascara has been part of our beauty regimes since as far back as the Egyptians who used kohl and mascara to deepen their lashes. Today mascara is an everyday make-up...
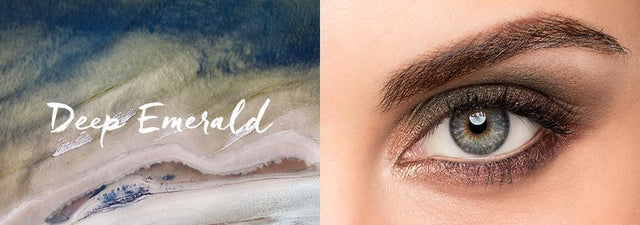
Deep Emerald Make-up Look
How To Guides, Looks & TrendsThe Deep Emerald look is a sultry twist on the classic smoky eye using deep green and red hues to mimic the sun setting through a rainforest. Deep Emerald Collection...
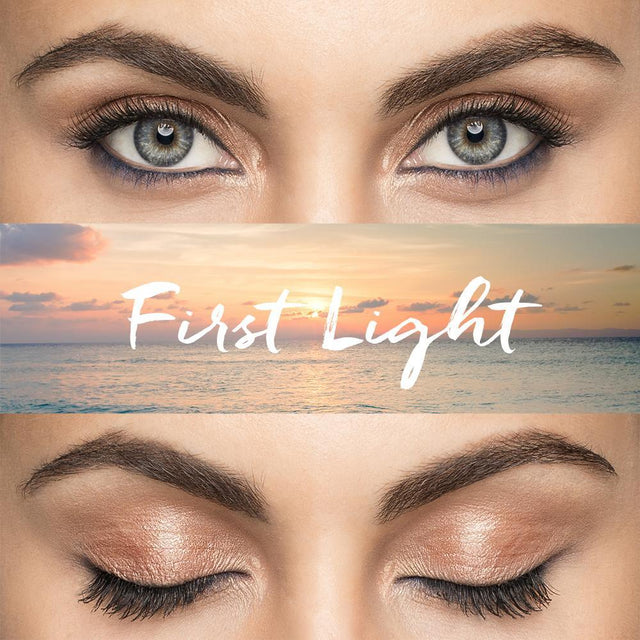
First Light Make-Up Look
How To Guides, Looks & TrendsThe First Light look captures the essence of the start to a beautiful Spring morning. Don’t be afraid to add a pop of colour to a classic nude look to...
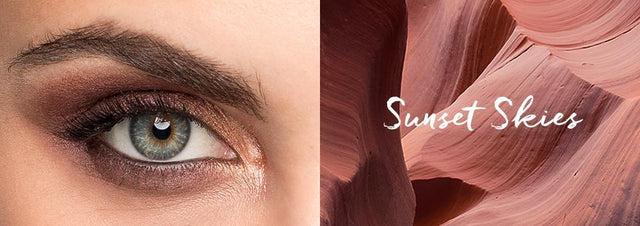
Sunset Skies Make-Up Look
How To Guides, Looks & TrendsThe Sunset Skies Look captures the rich, mesmerising colours of a soothing, glowing, Australian sky. The typical red-brown hues are particularly complimentary to green eyes Sunset Collection SHOP NOW Step...
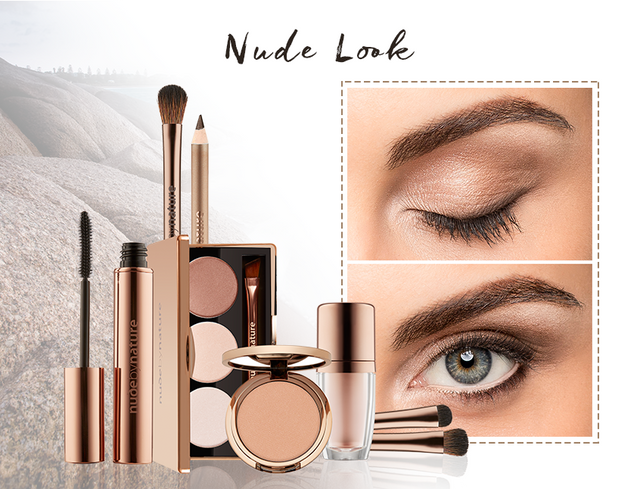
Natural Make-Up Look
How To Guides, Looks & TrendsThe key to a Natural Look for Race Day is all in neutral tones and touches of Shimmering Lights. Let us take you through the steps on how you an...